Github Codespaces
First time setup
Section titled “First time setup”- Login/signup for Github
- Create from a blank sketch
- Click ‘Create new codespace’
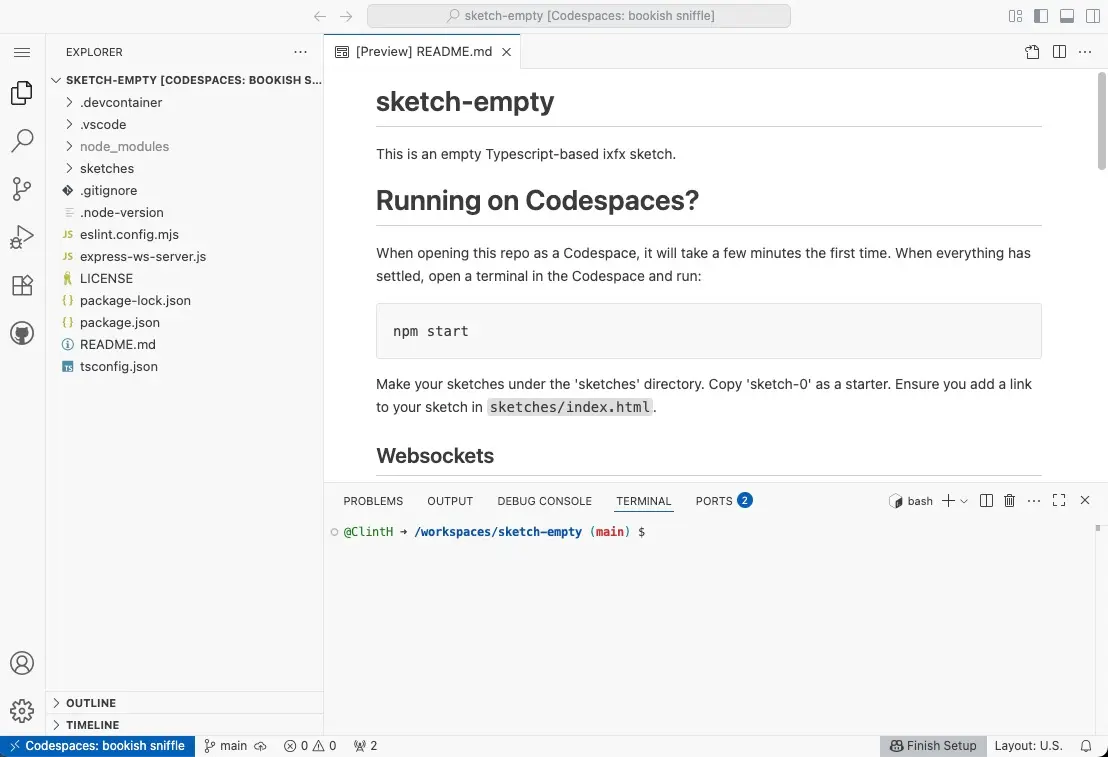
It will take a few minutes to initalise for the first time. Wait for all the progress bars to disappear. Once it’s done, you’ll see VS Code running in your browser:
To access your Codespace again, don’t repeat these steps, rather go to the Codespaces dashboard, where you should see the one you’ve created and can open it up again.
Running
Section titled “Running”The terminal is where you enter commands. To start accessing sketches, type in:
npm startAnd press ENTER.

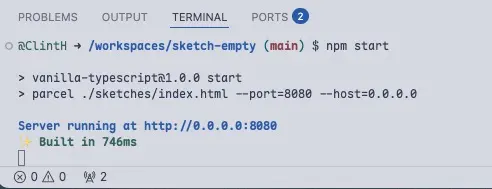
This will boot up a server and open the index page in a new tab. When you made edits to your sketch, the browser should automatically reload.
Editing
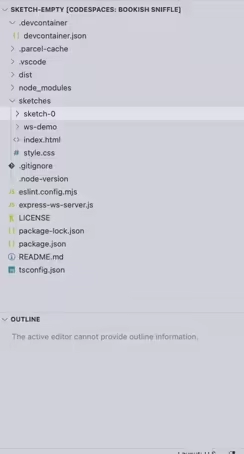
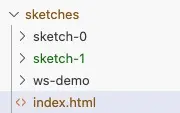
Section titled “Editing”Sketches need to be put in their own folder under the ‘sketches’ directory. You will see that there are already two sketches: ‘sketch-0’ and ‘ws-demo’. If you want, start editing ‘sketch-0’. It shows you how to import ixfx and is a template to start from.
Making a new sketch
- Right-click on the ‘sketch-0’ folder in the Explorer panel
- Choose ‘Copy’
- Right-click on the ‘sketches’ folder and choose ‘Paste’
- Right-click on ‘sketch-0 copy’ and rename to something. Avoid using spaces.
- Open ‘sketches/index.html’ and add a link to your new sketch.
Here’s how it might look:
...<body> <section> <h1>sketches</h1> <ul> <li><a href="./sketch-0/index.html">sketch 0</a></li> <li><a href="./sketch-1/index.html">sketch 1</a></li> <li><a href="./ws-demo/index.html">websockets demo</a></li> </ul> </section></body>...Accessing from another device
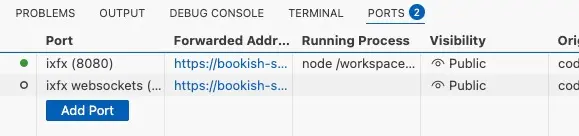
Section titled “Accessing from another device”Under the Ports tab at the bottom of the screen, right-click on all the ports and select Port Visibility > Public
When you’re done, it should look something like:
Websockets
Section titled “Websockets”Open a new terminal in the Codespace (go to the Terminal tab, and then click the ’+’ to the right)
Type in the following and hit ENTER
node express-ws-server.jsIf you go to the Ports tab, you should see they are both lit green. Make sure they are both set to ‘Public’ visibility too.
To test websockets, open the ‘ws-demo’ sketch. It shows you how to easily set up data exchange. Try opening the sender sketch on your phone and have the receiver sketch open on your computer. You should get touch events from the phone showing up on your computer.
Editing locally
Section titled “Editing locally”For an even better editing experience, you’re able to edit your Codespace code from your computer using the ‘real’ VS Code.
Two ways to do this:
- From the Codespaces Dashboard: click on the ’…’ button for the Codespace you made, and select Open in Visual Studio Code from the menu
- From an open editor: Select File > Open in VS Code Desktop’ in the top-left corner of Codespace.
You might need to install an extension, and sign into Github.
If everything works, you can then close the browser tab and edit the files remotely.
It’s always a good idea to make a copy of your sketches to your local machine, just in case the Codespace vanishes. Just right-click on a folder and select ‘Download’. Form the dashboard, you can also choose Publish to a new repository from the ’…’ menu as well.