Starting with your computer
With this approach, you’ve got a copy of the demos on your computer
Benefits
- Reliable: Once setup, you don’t need an internet connection, stable copy of ixfx that doesn’t change
- Safer: Excellent hinting & support from VS Code.
Disadvantages
- Closed: Can’t use cross-device websockets without additional steps.
Requirements
Optional
First-time setup
Section titled “First-time setup”- Install Visual Studio Code
- Install the Github Desktop app
- Open repository (or if this doesn’t work, Github Desktop, choose File > Clone a repository. Paste in in
https://github.com/ixfxfun/demos.git. The folder you clone it to is where you will edit your own sketches. - In Github Desktop, right-click on the name of the repository and choose ‘Open in Visual Studio Code’
When you open the folder for the first time, VS Code might prompt you to install recommended extensions. Choose ‘Install’ for these.
An important extension to install (if it doesn’t happen automatically) is Live Preview.
Running
Section titled “Running”When opening VS Code you should see something like below:
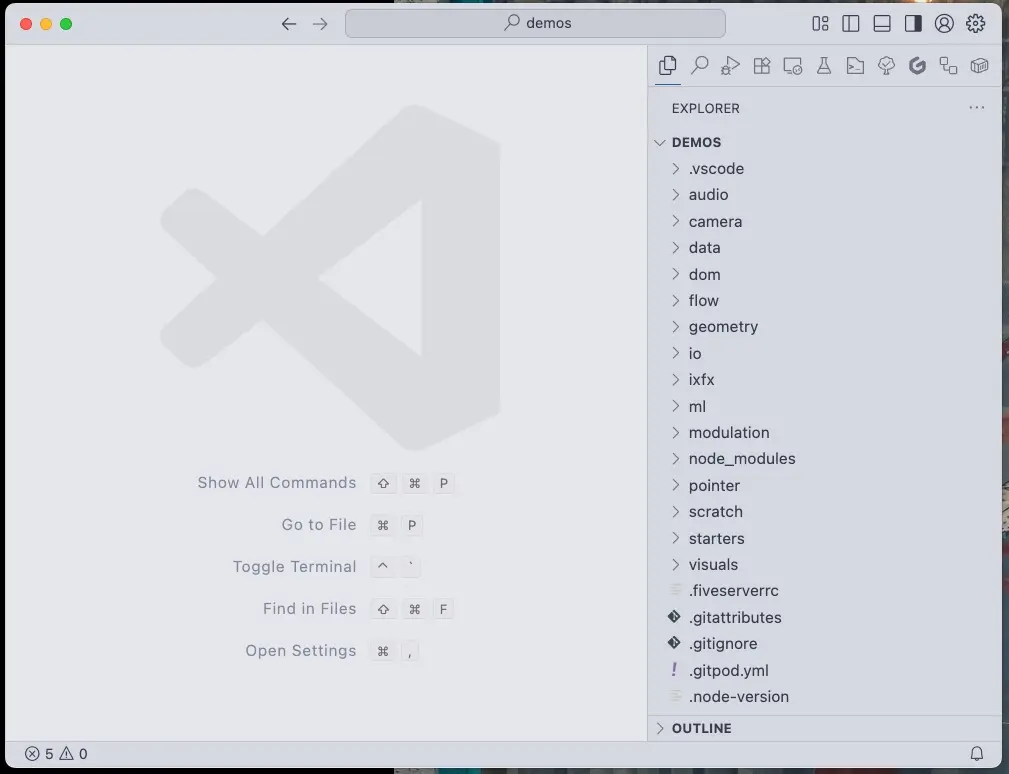
Note that ‘Demos’ is the top-level folder in the explorer. If you don’t see this, go File > Open Folder and select the ‘demos’ folder from where you cloned it or unzipped it.
Scroll down in the explorer to ‘index.html’. Double-click it and then hit the ‘Show Preview’ button in the top of the view.
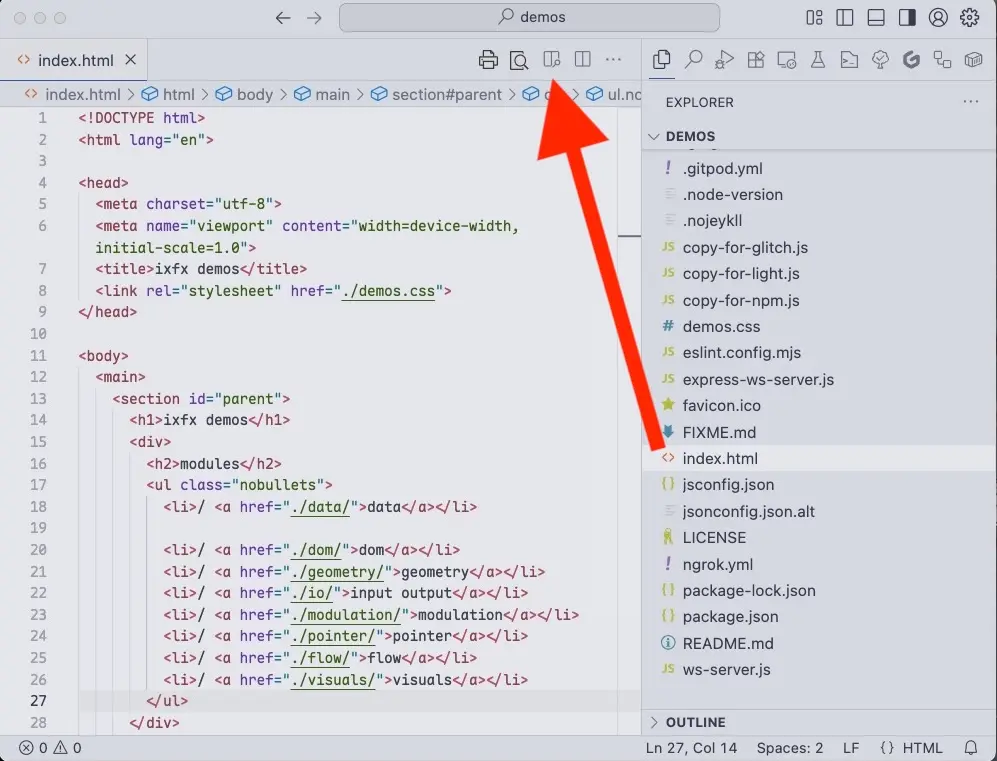
This will open the embedded browser in VS Code. You can navigate around to try out different sketches.

If you’re editing code, it’s critical you see the console for errors. To do this, click on the ‘Problems’ indicator in the status bar (bottom, left) or via the menu View > Problems.
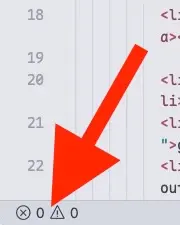
From there, the Problems view is useful for supporting syntax errors. If you go to the Output tab and then select Embedded Live Preview Console, you’ll see runtime errors.

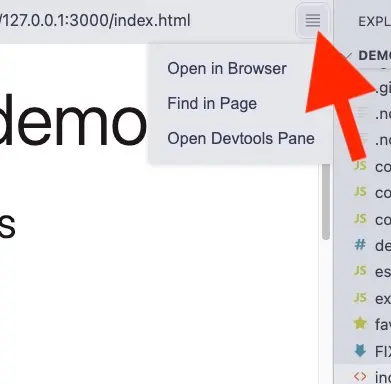
It can be annoying to switch between these, so I prefer opening the preview in an external browser and have its DevTools open. You can do this from the three-line button in the preview’s toolbar, selecting ‘Open in browser’
Advanced
Section titled “Advanced”Orientation
Section titled “Orientation”Each demo sketch is organised into a category using folders, such as the sketch circle-fill, living under visuals.
Directoryaudio/
- …
Directorycamera/
- …
Directoryixfx/
- …
- …
Directorystarters/
- …
Directoryvisuals/
Directorycircle-fill/ a sketch folder
- index.html
- script.js
- README.md
Directoryfunction-plot-canvas/
- …
Directoryparticle-things/
- …
Directorythings-canvas/
- …
- …
- index.html
- README.md
The Live Preview extension allows you to view sketches from your own device.
Whenever you save a file the browser should automatically refresh.
This will show a web page to let you navigate them in the browser. The URL structure mirrors the folder structure. For example visuals/circle-fill can be opened with http://127.0.0.1:5500/visuals/circle-fill/
Since the sketch folders are so lightweight, make many copies, so you always have a version to go back to, and it feels safe to try different variations. Try to avoid editing the original, for the same reasons.
For example, maybe you make a bunch of different sketches under a pointers directory. Some of them you name to remember which is which, others are just versioned with a simple number:
Directorypointers/
Directoryslow/
- index.html
- script.js
Directory01/
- index.html
- script.js
Directory02/
- index.html
- script.js
Importing ixfx
Section titled “Importing ixfx”You’ll see examples of how to import ixfx from the demo files. Read on to the next section for what the ../ bits means in the import statement.
All the main packages are included in ‘@ixfx’, for example:
import { Modulation, Geometry } from '@ixfx'You can import modules one-by one:
import * as Geometry from '@ixfx/geometry.js'Or import sub-modules or individual functions:
import { Points, degreesToRadian } from '@ixfx/geometry.js';In most cases we import from files from the same folder as the main sketch, eg:
import * as Util from './util.js'The ./ part of the path means ‘same location’, that is, look for ‘util.js’ in the same folder as the script being executed.
At times we need to reach up a level in the folder structure to use a file shared by several sketches:
import * as Common from '../common.js'The ../ part means ‘up one level’. That is, look for ‘common.js’ in the parent folder of the script being executed. These can be combined to go up as many levels as you need:
// Go up two levelsimport * as Common from '../../common.js'And we can even go up and then back down some other path. Eg to get a file from a sibling sketch:
import * as Blah from '../other-sketch/blah.js'In the above example, we go up one level in the hierarchy, then down into ‘other-sketch’ and look for ‘blah.js’.